The Recovery Drive app is also called Recovery Media Creator, which allows users to create a USB recovery drive for reinstalling Windows or resetting the computer to factory defaults. In this tutorial we’ll show you 4 common ways to open the Recovery Drive app in Windows 11.
Image may be NSFW.
Clik here to view.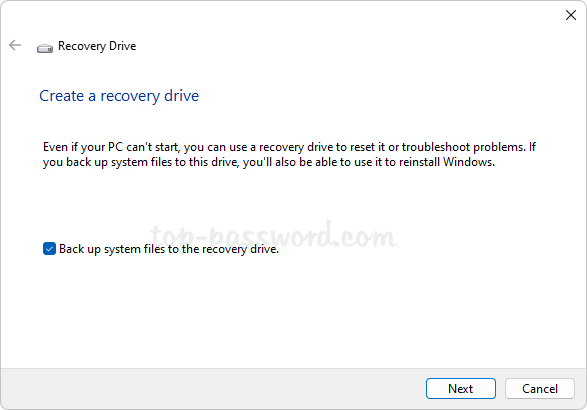
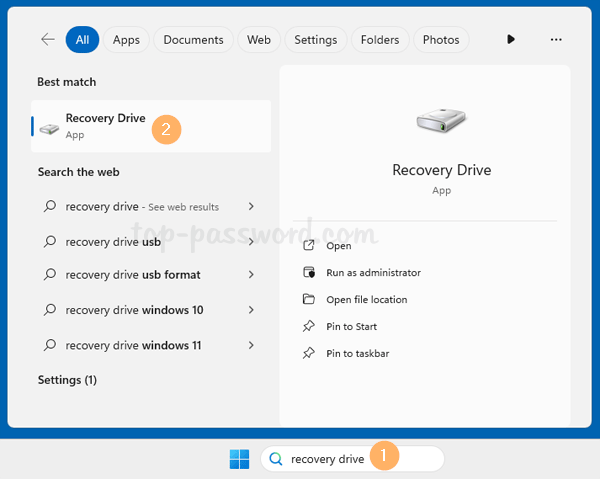
Method 1: Open the Recovery Drive app via Search
- Click the Search box in the taskbar and type in
recovery drive.Image may be NSFW.
Clik here to view.
- When the search results pop up, click the Recovery Drive App icon under the Best match section. The tool for creating a recovery drive will launch.
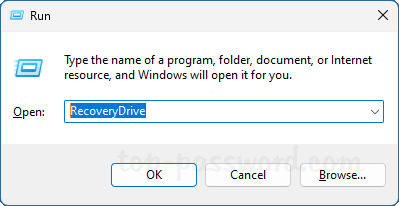
Method 2: Open the Recovery Drive app via Run Command
- Press the Windows key + R together to bring up the Run command box.
Image may be NSFW.
Clik here to view.
- Enter
RecoveryDriveand click OK, it will run the Recovery Drive app immediately.
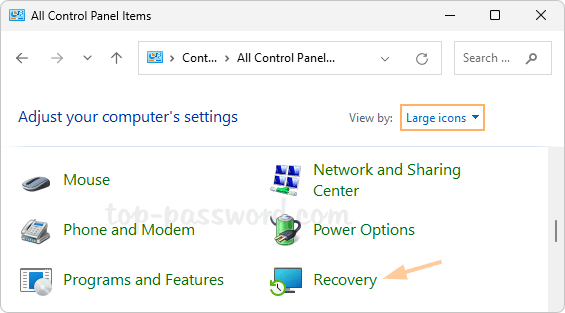
Method 3: Open the Recovery Drive app via Control Panel
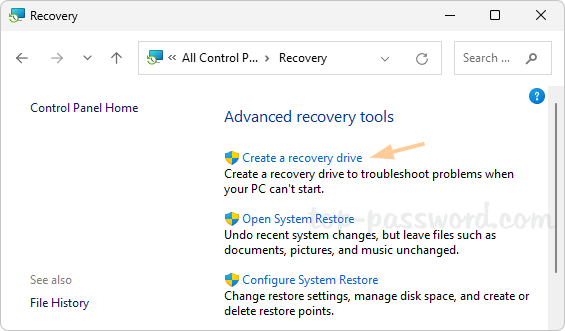
- Open the Control Panel in Large icons view, and then click Recovery.
Image may be NSFW.
Clik here to view.
- Under the “Advanced recovery tools” section, click the “Create a recovery drive” option.
Image may be NSFW.
Clik here to view.
Method 4: Open the Recovery Drive app via Windows Terminal
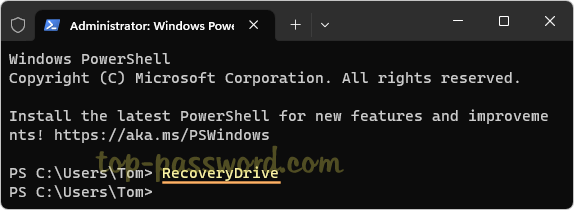
- Right-click the Start button and choose Terminal (Admin) from the pop-up menu.
Image may be NSFW.
Clik here to view.
- When the Terminal opens to Windows PowerShell or Command Prompt, execute the “
RecoveryDrive” command.Image may be NSFW.
Clik here to view.

That’s it!
